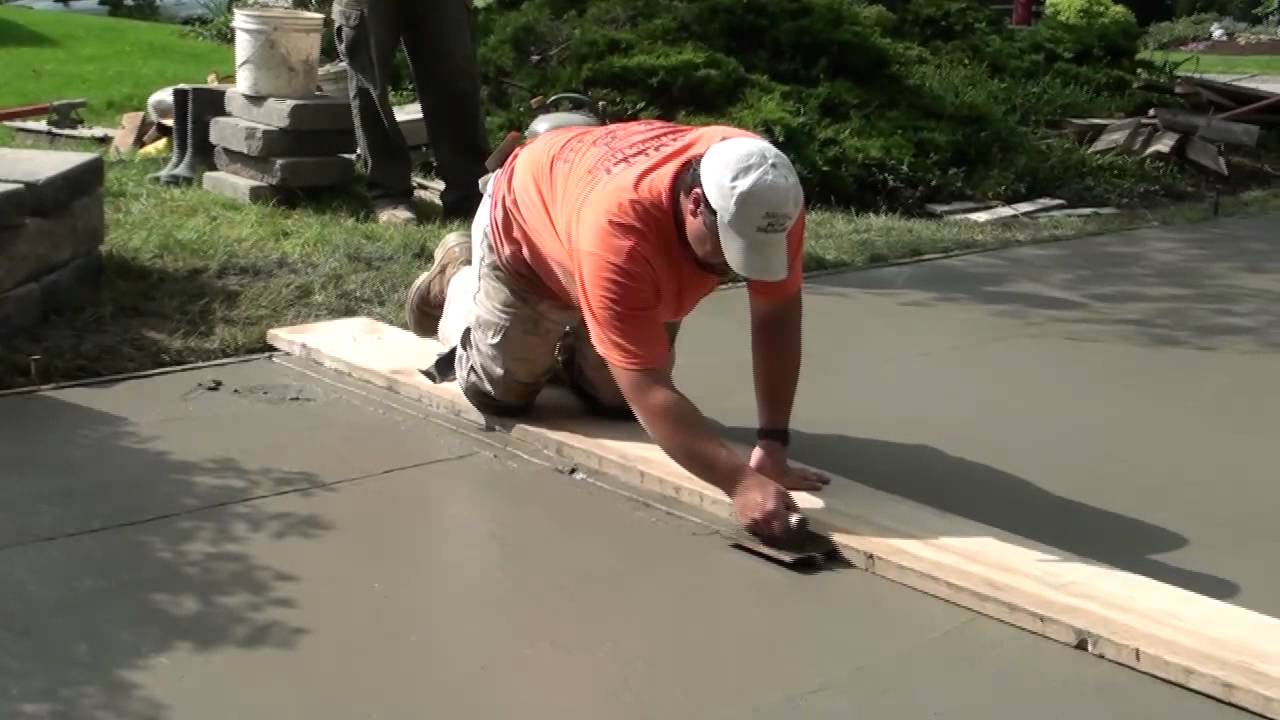
Are you looking to add a concrete driveway to your property?
Pouring concrete driveway is an involved process, but it’s certainly doable. With the right preparation and tools, you can be well on your way to having a great-looking driveway that will last for years to come.
This step-by-step guide will help walk you through the entire process so you’ll have no problem getting started.
So grab your supplies and let’s get going!
Plan and Prep
You’ll want to plan ahead and get everything ready before you start, so you can envision the end result!
Before undertaking a project as big as pouring a concrete driveway, it’s important to assess your current design layout and drainage solutions. Consider the size of the driveway, where it will be located on the property, how much vehicle traffic it will need to accommodate, and any other factors that may affect the job.
It would also be wise to consult with an expert or professional in order for them to advise on any potential issues that could arise during construction, whether it’s for your home or business. This way, you can ensure that all necessary steps are taken prior to beginning work
Taking these precautions at the start of your project will help ensure a smooth and successful outcome.
Gather Materials
Before you start, gather all the necessary materials you’ll need to complete the job – for example, a shovel, wheelbarrow, and cement mix.
You will also need a mixing ratio of 5 parts sand to 1 part cement, an appropriate slab thickness for your project (1 inch or greater), and concrete forms and stakes to build the edges of your driveway.
To get an accurate measurement of your supplies, use a measuring tape. Make sure that the excavation site is leveled before pouring concrete by using a carpenter’s level.
Also, check the weather forecast so that you know if there are any potential storms coming up that could possibly delay or interfere with your work.
Prepare the Site
To begin, make sure the area is cleared of any debris and you’ve marked off the boundaries of your project using stakes and string. This will allow you to survey the area before excavating soil.
Make sure to use shovels and levelers to ensure that your project has a uniform depth throughout its entirety. Additionally, it’s important to slope the sides of your excavation in order for water runoff not to interfere with the stability of your concrete driveway later on.
When excavating, consider what type of soil is present in order to determine how deep you need to dig. For example, if there are larger stones or roots beneath the surface then you may need to dig deeper than usual in order for them not to cause problems later on when pouring concrete.
This will give your new driveway a strong foundation which should last for many years ahead!
Pour the Concrete
Pouring the concrete is an important step in creating a long-lasting driveway. Here are some key steps for success:
Start by mixing the concrete according to the manufacturer’s instructions. Make sure you pay attention to the proper ratios of water, sand, gravel, and cement mix. This will ensure that your concrete cures correctly and holds up over time.
Once the mixture is ready, use a wheelbarrow or mixer to move it near where you’ll be pouring the concrete. Then start shoveling it out into sections of your driveway until you have filled all areas needed with at least 4 inches of thickness.
Use screed boards to smooth out any uneven spots in each section before they dry. Make sure that there are no large air pockets or dirt clods left behind as these can weaken the overall integrity of your foundation when dried.
Finally, cover your newly poured driveway with plastic sheeting or burlap sacks and allow it to cure for at least three days before walking on it or adding any additional weight such as a car or heavy objects onto its surface.
Each step taken during this process is essential in ensuring that your new driveway stands up against wear and tear over time!
Finish the Driveway
With the concrete poured and set, it’s time to finish your driveway – so let’s get cracking!
The first step is to seal coat the surface. This will protect it from water and other elements that could cause damage over time. You can purchase a sealant from your local hardware store, but make sure you select one that’s designed specifically for concrete surfaces. Once you’ve applied the sealer, allow it to fully cure before continuing – this usually takes around 24 hours.
Next, you’ll want to start edging the driveway with landscape blocks or bricks. This will help define its shape and keep gravel out of grassy areas along the edges. Be sure to use a level as you lay each block so they form an even line on either side of your driveway.
Finally, spread gravel across the entire surface of your new concrete drive and compact it with a hand tamper or plate compactor for maximum stability.
Congratulations – you now have a beautiful, durable driveway that’s ready for years of use!
Conclusion
You’ve done it! You just poured your own concrete driveway and you should be proud. With the right materials, tools, and technique, you can take on any DIY project with confidence.
You may have encountered some bumps in the road during this process – but now you know how to work through them quickly and easily.
At the end of the day, nothing beats a job well done – and that’s what you’ll have with your brand new concrete driveway. Congratulations!

